
Connect your services
Pick a service from the catalogue and connect it, import an env file, move your configuration to another device under a passphrase, and learn what hiding or disabling a service really does.
iPhoneMacAndroidOn this page
Every integration is configured with a handful of UPPER_SNAKE_CASE keys, the same keys the Homelab Raycast
extension uses. You can fill them in one service at a time, paste an entire env file, or bring the whole
configuration over from another iPhone or Mac.
Pick a service
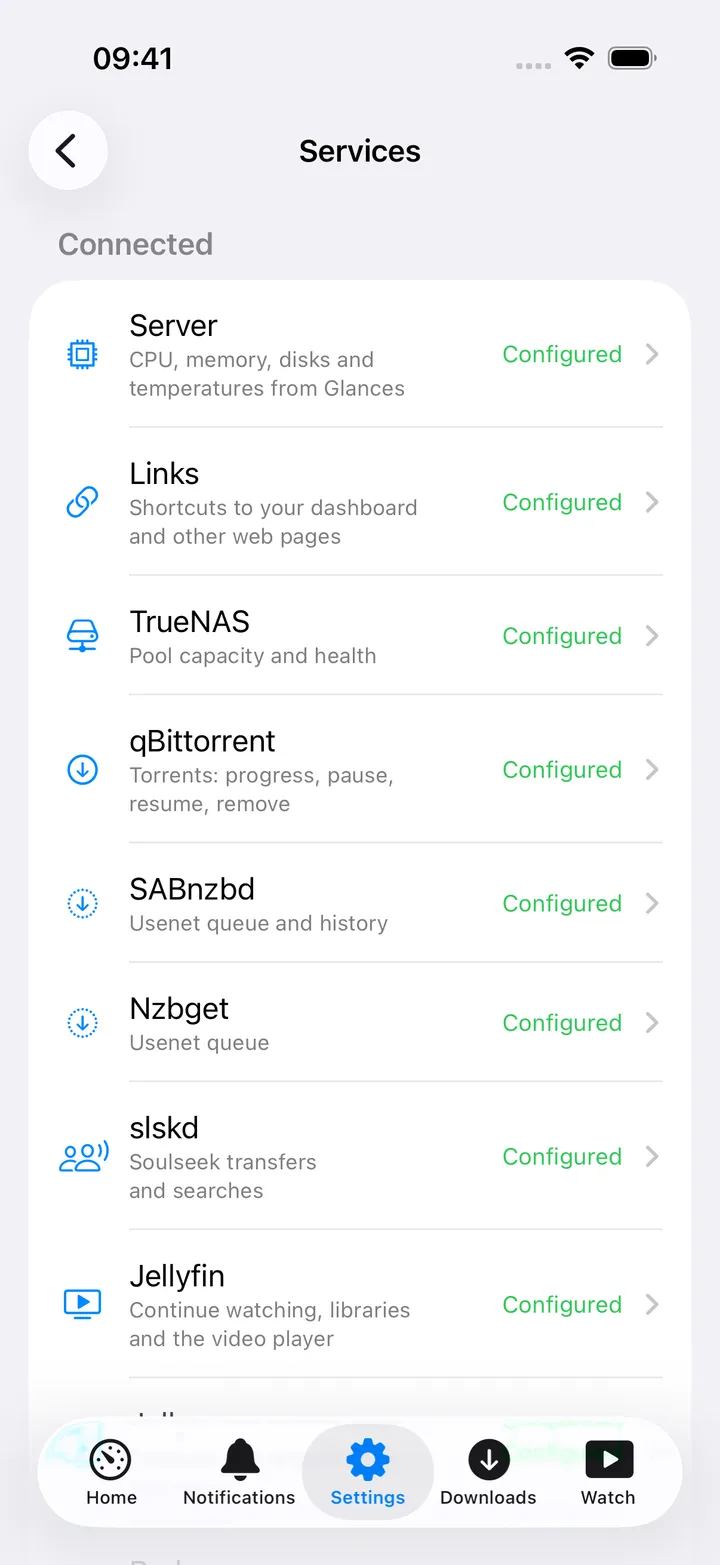
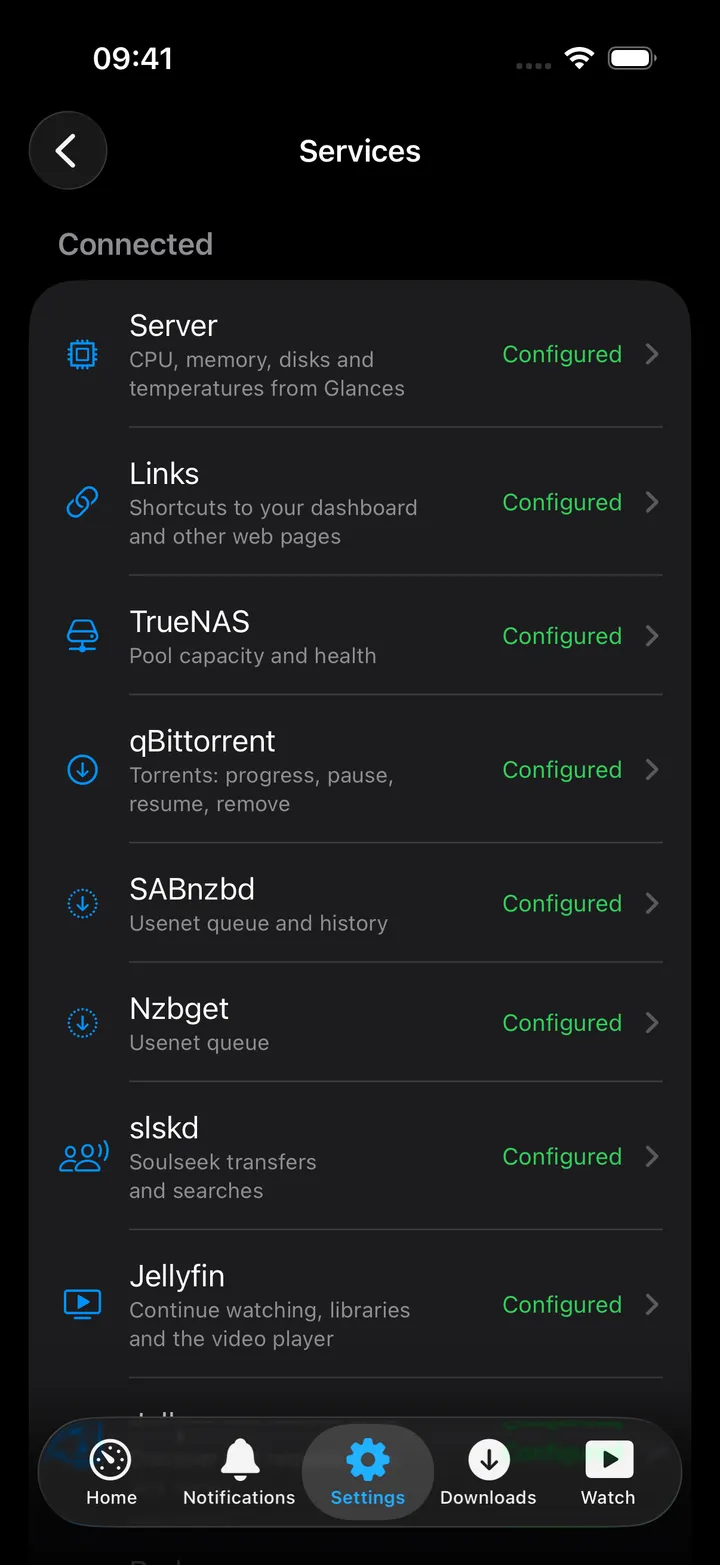
Settings → Services (and Connect a service on the welcome screen) is a searchable catalogue. What you already connected comes first under Connected; the rest sits on five shelves: Media, Downloads & requests, Servers & network, Files & documents and Money, tasks & everyday. Every row has a one-line summary of what the service is for and its status on the right.
Search (“Jellyfin, torrents, budget…”) matches names, summaries, keywords such as torrents, budget or dns,
and env key names.
On the Mac, Settings → Services lists every service on the left, with a Find a service field that matches names, and shows the one you pick on the right. Connect a service on the Mac welcome screen opens the same catalogue as the iPhone.
On Android, More → Settings lists the services on the same shelves, with Find a service at the top. A green tick marks the ones that are set up. Each opens a form with one field per key, Test with these values, Save and Clear this service.
Fill in one service
A service’s form has one field per key, with that field’s help (where to find the value) right under it, and the service’s summary as the section header. Secret fields are masked with a reveal button; URL fields use the URL keyboard.
An example of what a service’s key table looks like in these docs:
| Key | Field | Required | Secret | Where to get it |
|---|---|---|---|---|
KUMA_URL | Uptime Kuma URL | Required | — | Base URL of your Uptime Kuma instance. |
KUMA_API_KEY | API key | Optional | Secret | Profile → API Keys → Add API Key. Without it only a public status page can be read. |
KUMA_STATUS_SLUG | Status page slug | Optional | — | The slug in /status/<slug>. Used when no API key is set. |
Every save tidies the address: https:// is added when you typed no scheme, and trailing slashes are dropped.
Connect, in one step
Opened from the welcome screen or the Getting started card, the form is a guided one with a single Connect button: it tidies the address, saves, and runs the connection check. On success it shows Connected with what it found (“12 monitors via /metrics”), offers the tabs that service brings under Also show as a tab, and Connect another service. A service with no connection check is simply saved.
The guided form also warns, before anything is tried, when an address uses plain http:// to a host that is not
on your local network: “Plain http only works for addresses on your local network. … (a Tailscale 100.x address
is not either), so iOS will block it: use https.”
Test connection
The full form in Settings → Services has a Test connection button instead. It saves the draft first, then
makes one real request and reports back: “Glances reachable”, “12 monitors via /metrics”, “↓ 300 Mbps”, or a
red error such as Kuma /metrics → HTTP 401.
The button is disabled when the URL is empty, when the service is paused by the free limit, or when that service has no test at all (“No test available for this service yet.”: Links, NZBget and Komodo).
When the check fails
A failed check is explained in words, with the likeliest fix first. The raw error stays underneath.
| The app says | What to try |
|---|---|
| ““host” did not answer.” | If the service only answers at home or over a VPN or Tailscale, connect to that first. Check the port and that the service is running. |
| ““host” could not be found.” | The spelling, or a name that only exists on your home network or tailnet. |
| “The secure connection to “host” failed.” | Self-signed certificates are not accepted. Use one the device trusts, such as Let’s Encrypt or Tailscale HTTPS; on your LAN, http:// works too. |
| “iOS blocked this address because it is not https.” | Use the https:// address. Plain http is only allowed on your local network. |
| “… refused the credentials (HTTP 401).” | Copy the key, token or password again without spaces. Some services need the user name as well. |
| “… was not found at this address (HTTP 404).” | Use the base address, including a sub-path such as /jellyfin if the service has one. |
| “Something answered, but it does not look like …” | A login page or sign-in proxy (Authelia, Authentik, Cloudflare Access) is in front of the API. Let the API path through. |
| “… is having trouble (HTTP 502).” | The service itself, or the reverse proxy in front of it. |
| “This device has no connection right now.” | Wi-Fi or mobile data. |
More in Troubleshooting.
Download a blank template
Download the complete Pocket Homelab env template. It includes every supported setting, grouped by service, with comments explaining where to find each value. Every value starts empty; example addresses appear only in comments. Mac-only settings are marked.
You can also save the same file offline from Settings → Move & restore → Save blank env template… in the app, or from the import screen.
- Open the downloaded file in a plain-text editor and keep it as UTF-8 with the
.envextension. - Fill in the addresses, keys and other settings for services you use. Leave the other values blank or remove
their sections. Put values after
=, using the comments for guidance. - Save the file and import it below. Leave Replace everything off to preserve existing settings when a value in your file is blank.
The blank download contains no credentials. Once filled, keep it private and never attach it to a beta request or bug report. Remove the completed file when you no longer need it.
The env file format
# Lines starting with # are ignored, as are blank lines.
JELLYFIN_URL=https://jellyfin.example.ts.net
JELLYFIN_API_KEY=6f1a…            # trailing comments are stripped
export NEXTCLOUD_URL="https://cloud.example.com"
NEXTCLOUD_USERNAME=alex
NEXTCLOUD_APP_PASSWORD="ABCDE-FGHIJ-KLMNO-PQRST"
Rules the parser applies:
KEY=valueper line. Blank lines and#comments are skipped.- A leading
exportis dropped. - Matching single or double quotes around a value are stripped.
- An unquoted value loses anything after
#. - Trailing slashes are removed from every
…_URLkey. - Keys the app does not recognise are kept, so a file round-trips cleanly.
Import an env file
- iPhone: Settings → Move & restore → Import configuration, or Bring your configuration on the welcome screen. Mac: Settings → Move & Restore → Import env file…
- Either paste the file into the editor, or press Choose file… and pick it with the Files picker.
- The footer counts what it found: “12 values to import · unknown keys kept: FOO, BAR”.
- Leave Replace everything off to merge (empty incoming values will not erase what you already have), or turn it on to make the file authoritative, settings missing from it are removed.
- Press Import. You get “Imported 12 values.” and the sheet closes.
Android: paste the file on the first screen, or later in More → Settings → Replace configuration…, and press Import. On Android an import always replaces the whole configuration; there is no merge yet.
Move to another device
Settings live in each device’s Keychain and do not sync. To take them across, seal them with a passphrase:
- iPhone: Settings → Move & restore → Move to another device. Mac: Settings → Move & Restore → Move to another device → Export… The row appears once something is saved.
- The app suggests a passphrase of five groups without look-alike characters; Suggest another makes a new one, or type your own of at least eight characters. It is not stored and not part of the file: read it across, or send it separately.
- Press Encrypt 12 services, then Share encrypted file (AirDrop works well) or Copy as text.
- On the other device, open Import configuration, choose the file or paste the text (the footer says “Encrypted configuration from another device.”) and enter the passphrase. Capital letters and dashes matter.
- Import merges or replaces exactly as for an env file.
Android takes the same export: paste the text on the first screen (or in Replace configuration…), enter the passphrase and press Unseal and import. As with an env file, it replaces what the phone had. Android cannot make an export yet; set it up on an iPhone or Mac and bring it across.
Everything saved under Settings → Services is included: addresses, user names, passwords and API keys, also of services that are switched off or paused. The file is sealed with AES-256-GCM under a key stretched with PBKDF2-HMAC-SHA256 (600,000 rounds). A wrong passphrase gives “The passphrase does not open this export. Check it and try again.” There is no plaintext export and no QR code: a full configuration does not fit one.
An empty URL hides the service everywhere
A service group counts as configured as soon as its URL is set (or, for key-only services, any key). Until then it
has no Home card, no tab, no search entry, no browser link and no quick action. If you reach one of its screens
anyway, you get “<Service> not configured” and the list of keys to add.
Disabled, paused, cleared, removed
| Action | What happens | Credentials |
|---|---|---|
| Enabled toggle off | Hidden everywhere, tabs, tiles, search, links. Status shows Disabled. | Kept |
| Paused · Free limit | Configured and enabled, but not one of your three free choices. | Kept |
| Clear credentials | Blanks keys, tokens and passwords. The URL stays. | Erased |
| Remove service | Blanks every key of the group and switches it back on. | Erased |
| Erase all settings | Deletes the whole Keychain item, the disabled set and the free selection, and starts the Getting started card over. | Erased |
None of these change anything on your servers.